This article shows how Public IP Service on GCVE can be used together with NSX-T Load Balancer. The configuration is just an example (it is very basic!) but it can be a base for the further development.
Each Private Cloud on GCVE has its own NSX-T installation that is used to provide various networking services for GCVE workloads. The services can either be internal or exposed to the Internet. If we want our service to be exposed, a good practise is to put a FW and LB in the front.
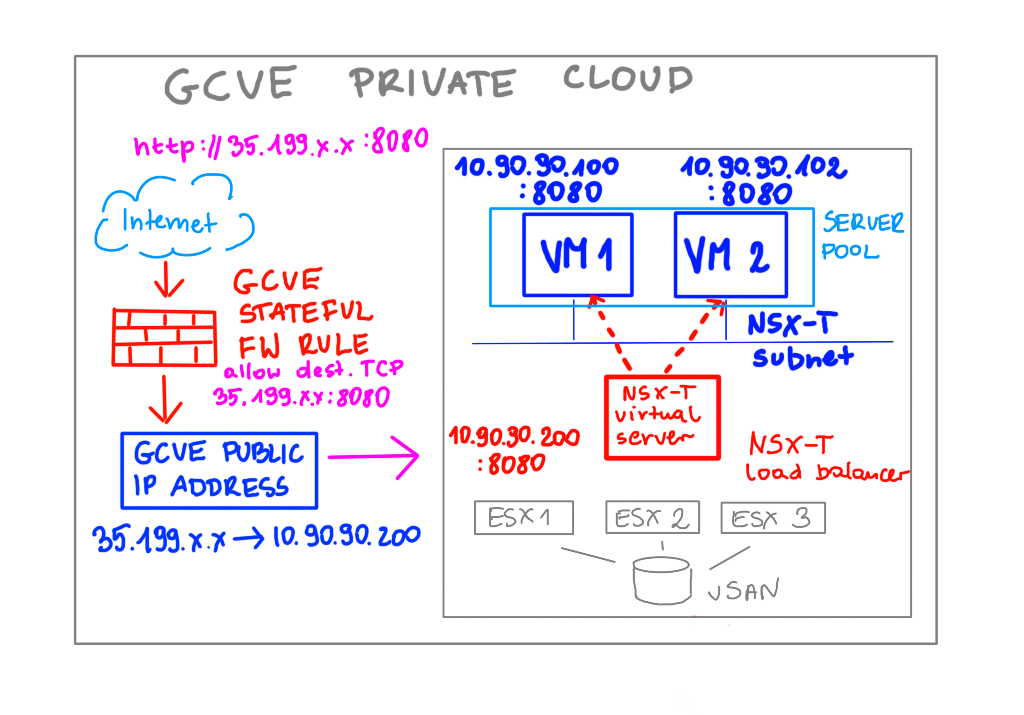
In this scenario the plan is to put a server pool of two VMs: VM1 and VM2 that offer HTTPS content behind a NSX-T Load Balancer. The content will be served in round-robin manner by VMs in the pool and it will be accessible from Internet.
First, we need to create a NSX-T segment to which we will connect our VMs. GCVE uses a standard NSX-T installation and it is preconfigured and ready to use. It means that right after the Private Cloud deployment, we can start right from creating segments. We don’t have to worry about configuring T1 and T0 routers in most cases as they are configured for us.
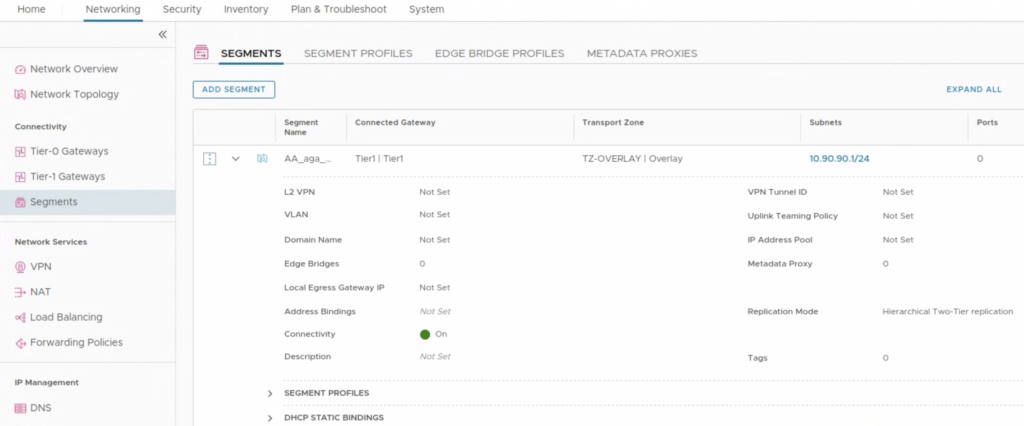
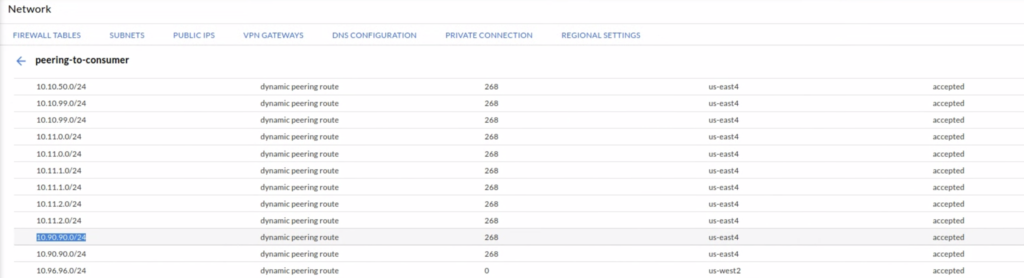
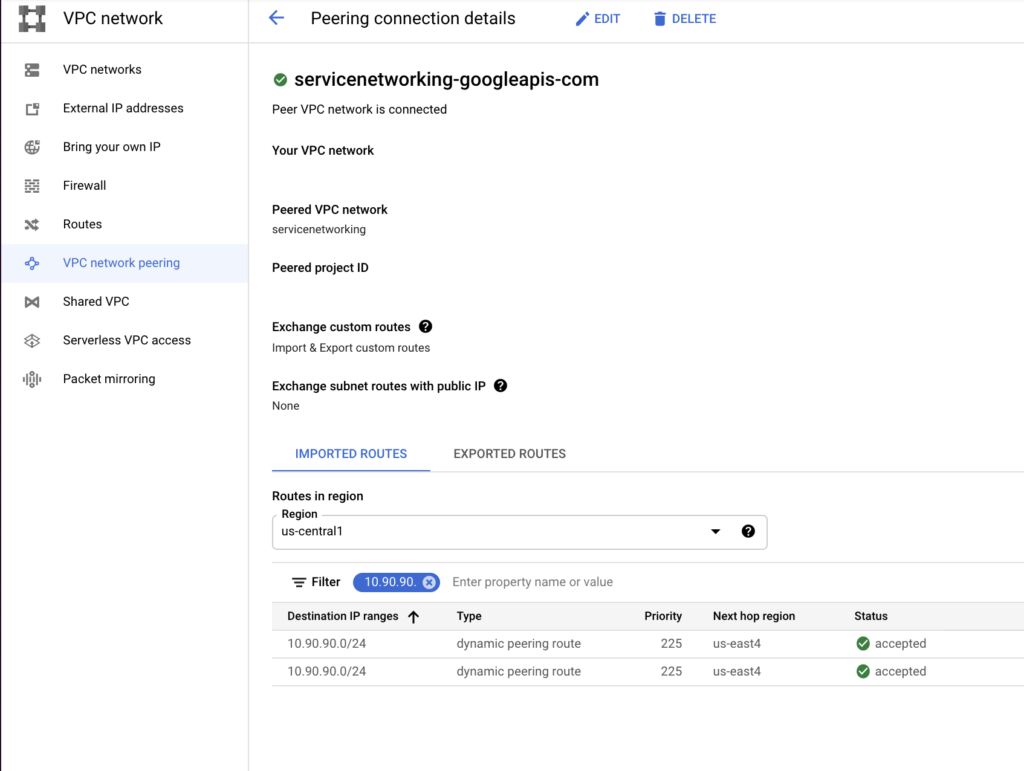
If GCVE has a Private Connection to GCP (it is not required in this scenario), right after the segment is created, the route is immediately exported to a peered VPC. It can be verified both in a GCVE portal and in a GCP portal.
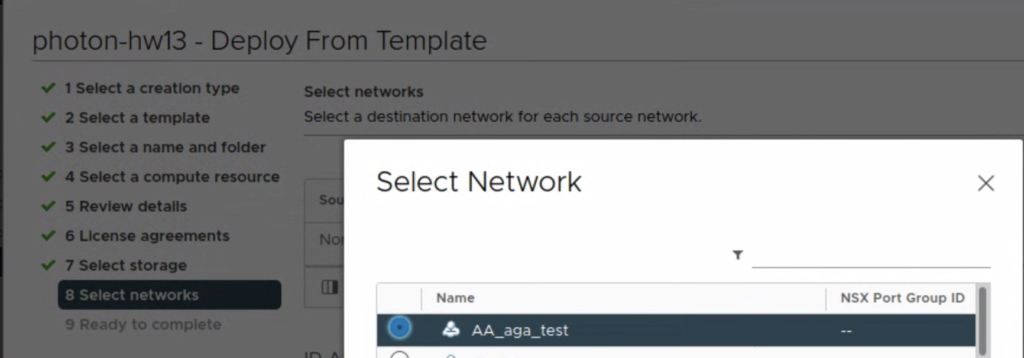
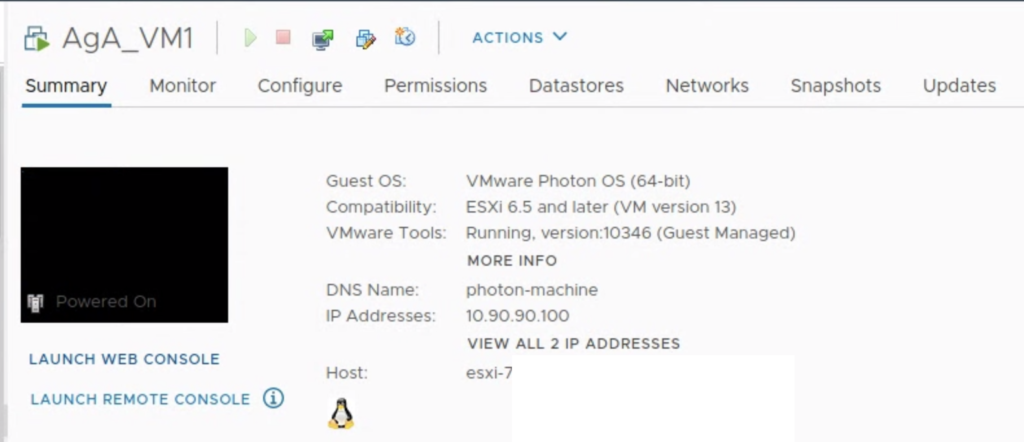
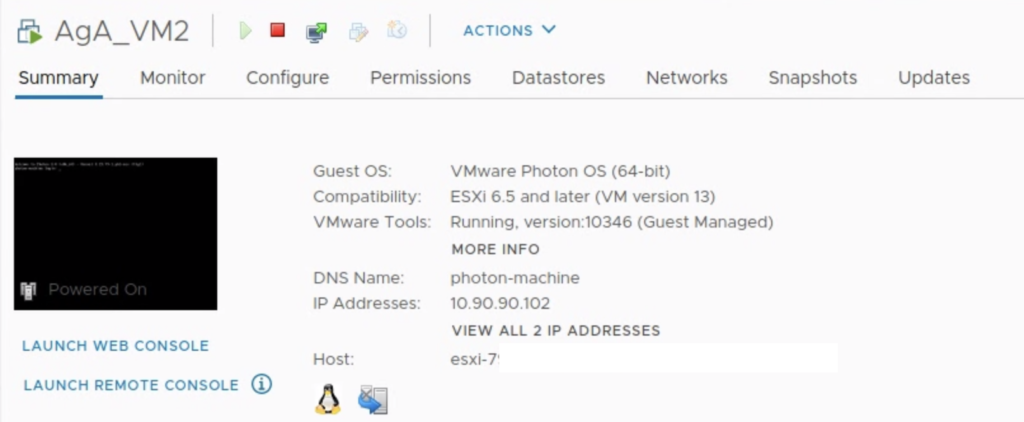
When the subnet is ready, we can deploy VM1 and VM2 and attach VMs to the subnet. They will get IP addresses from DHCP server.
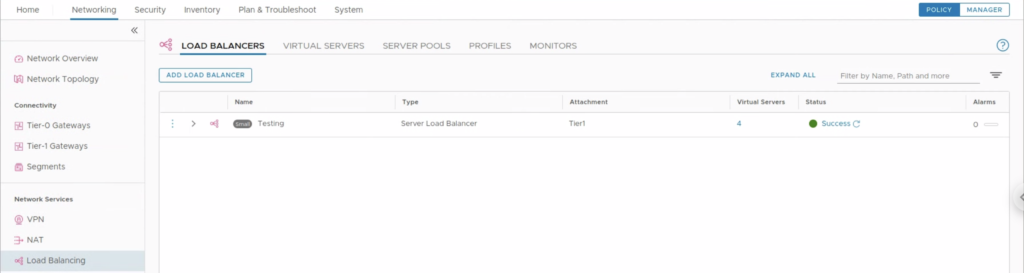
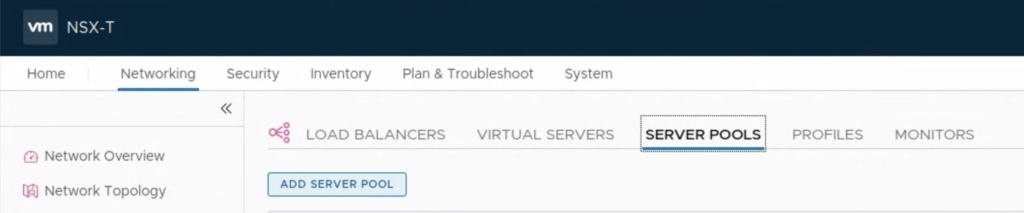
When VMs are ready we can configure NSX-T LB. The basic setup will use a Server Pool that consist of VM1 and VM2. A Load Balancer server has been already created in this NSX-T instance, so the focus is to create a new Virtual Server that will be used to load balance the VMs.
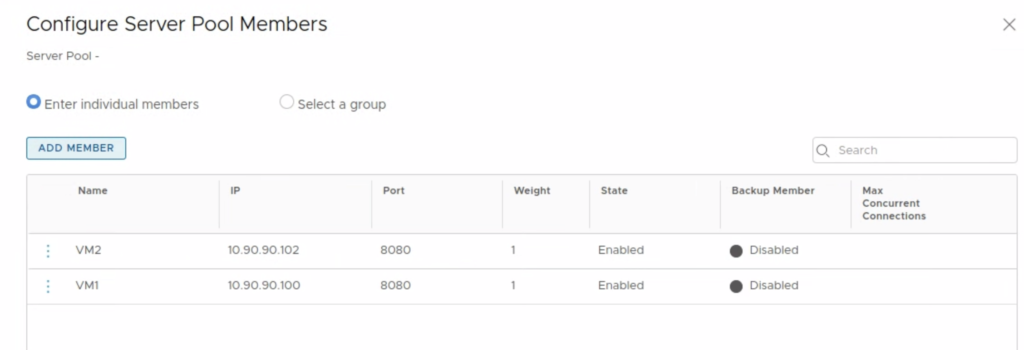
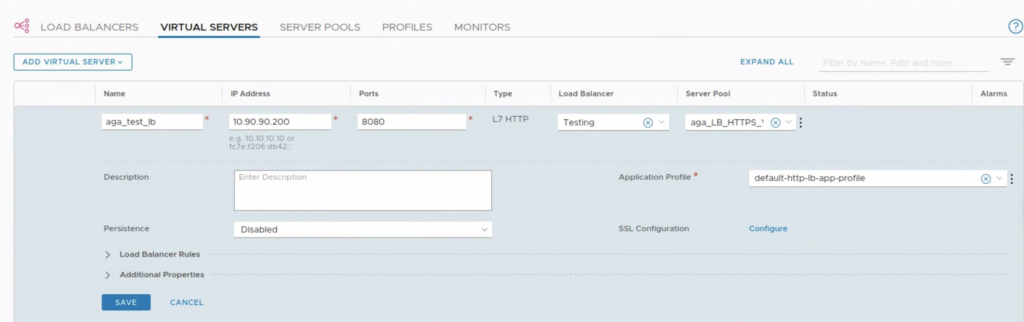
The Virtual Server is ready. When we access/curl http://10.90.90.200:8080 from the local network, the content should be served in round robin manner from VM1 and VM2. Now the task is to make it available from the Internet.
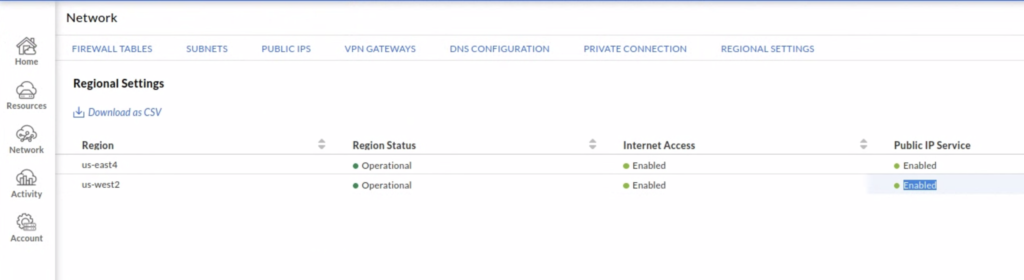
For this task we use GCVE Public IP Service. The prerequisite for this service is to enable Internet Access on a GCVE portal for a region in which a private cloud is deployed.

In GCVE you attach a public IP to a local address (not to a VM/service). This local address doesn’t have to be used by a VM or service during the creation time.

The assigned public IP is displayed under Public IPs tab.

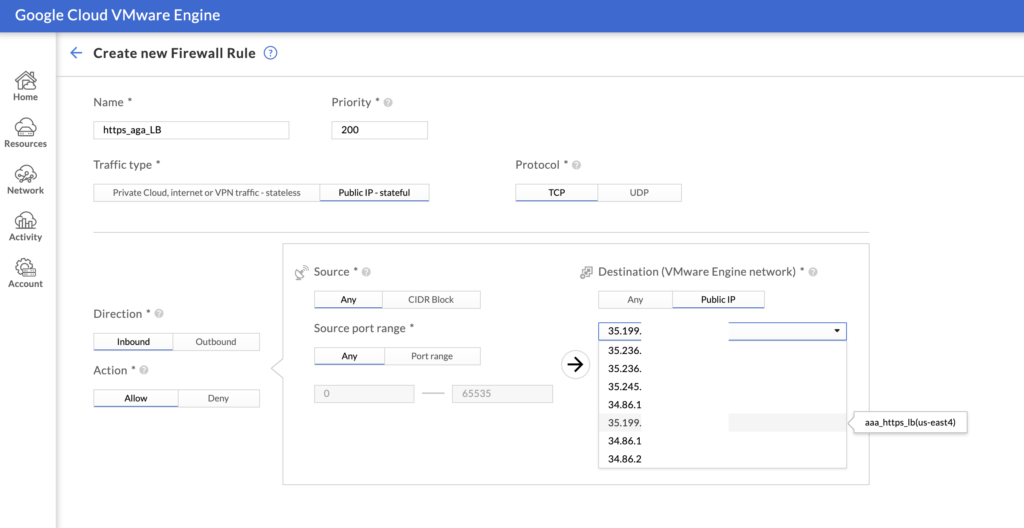
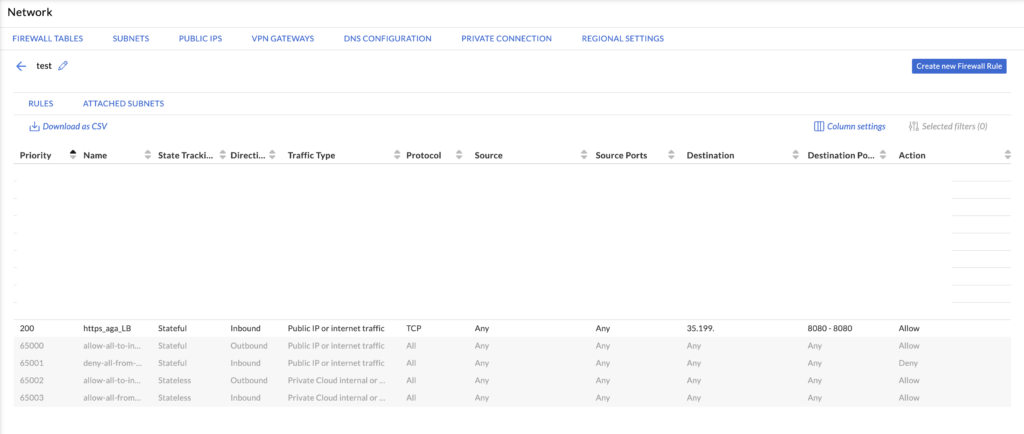
The last step of this configuration is to enable access from the Internet by creating an allow rule on the FW on GCVE portal. By default ingress traffic from Internet is not allowed.
When creating a FW rule (that is attached to a FW table attached to our Private Cloud subnets), for ingress Internet traffic we need to select a STATEFUL inbound rule to allow traffic to our Public IP service 35.199.x.x on TCP port 8080.
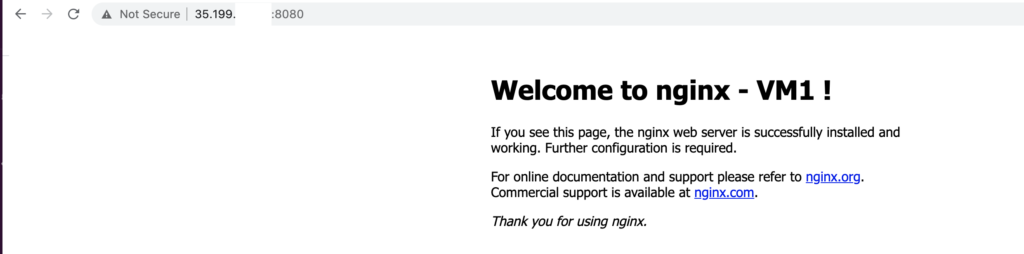
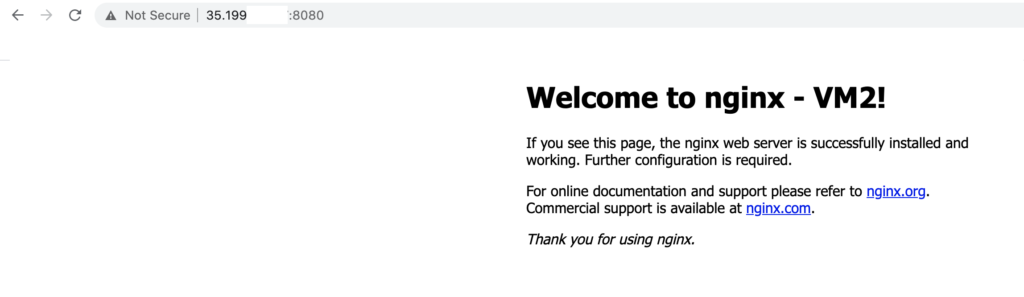
The task has been completed now. We can test if http://35.199.x.x:8080 content is available and served by both VM1 and VM2.